Onions are a staple ingredient in kitchens and restaurants across the world, adding flavor and depth to a handful of dishes. Growing onions is a rewarding hobby, whether you’re new to gardening or have been doing it for years. This guide will walk you through the entire process of planting onions, from choosing the type of onion to plant to harvesting and storage. By following these steps, you can enjoy fresh, homegrown onions that are as satisfying to eat as they are to grow.
What Are Onions?
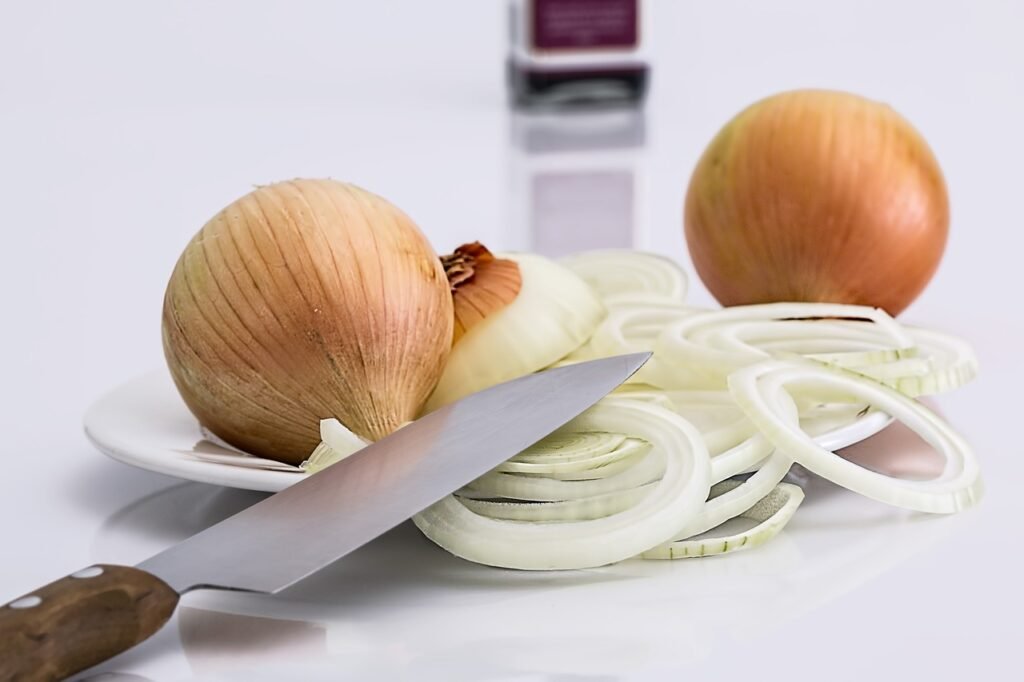
The onion is a bulbous vegetable from the Allium genus in the Amaryllidaceae family, closely related to garlic, leeks, chives, shallots, and scallions. Interestingly, the shallot was considered a separate species until 2011. While the exact origin of onions remains uncertain, ancient texts suggest they were first domesticated in western or central Asia. European settlers later introduced onions to North America during the Age of Exploration. Edible parts include both the underground bulb—comprised of fleshy leaves—and the shoots. Although technically a biennial, onions are typically harvested as annuals. Onions are known to improve gut health, immune support, and heart health. They are rich in antioxidants and have been associated with lower blood sugar, cancer prevention, and better bone health. Chopping onions releases pungent chemicals that can irritate the eyes.
Step 1: Choose the Type of Onion
Before planting onions, it’s important to understand the different varieties available. Onions vary in shape, size, color and taste. Each type has its own flavor profile and culinary uses, so choose the variety that best suits your needs and climate. Below are the common types:
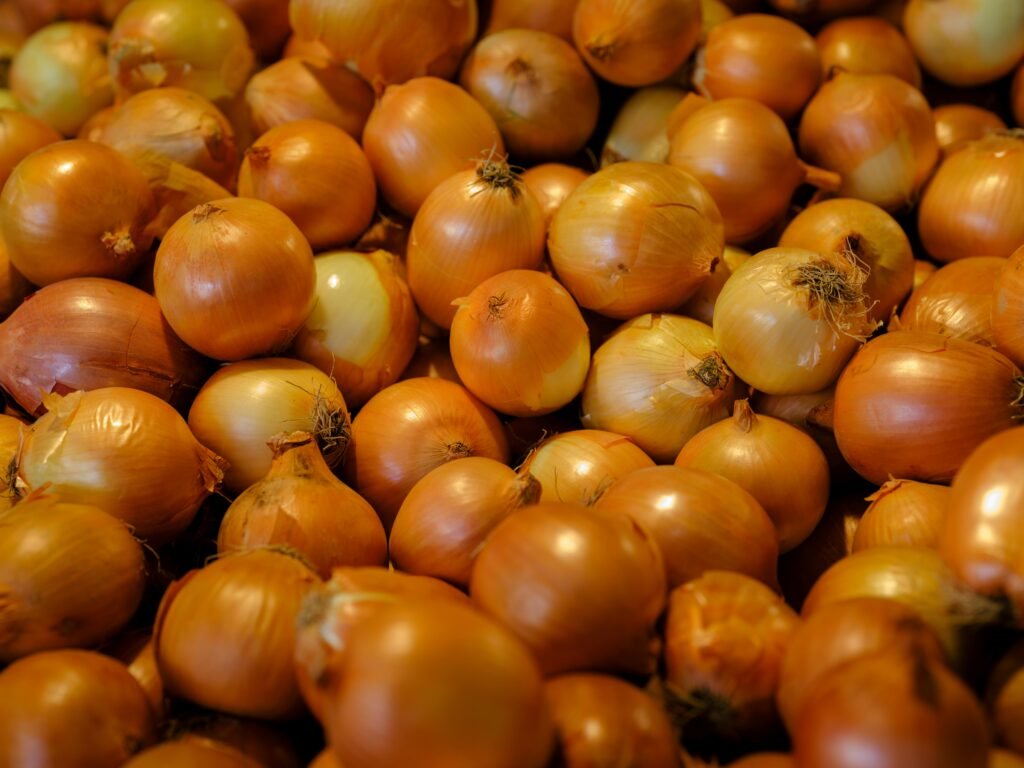
Yellow Onions: These onions are very common and go well in most dishes. If a recipe calls for an onion but does not specify which type, this is your go-to. Yellow onions go particularly well in caramelized-onion dishes. Yellow onions have a higher starch content than other types. When raw, their taste is harsh. However, they mellow out when caramelized, roasted or sauteed. Fun fact, the vast majority of onions harvested in the United States are yellow onions.
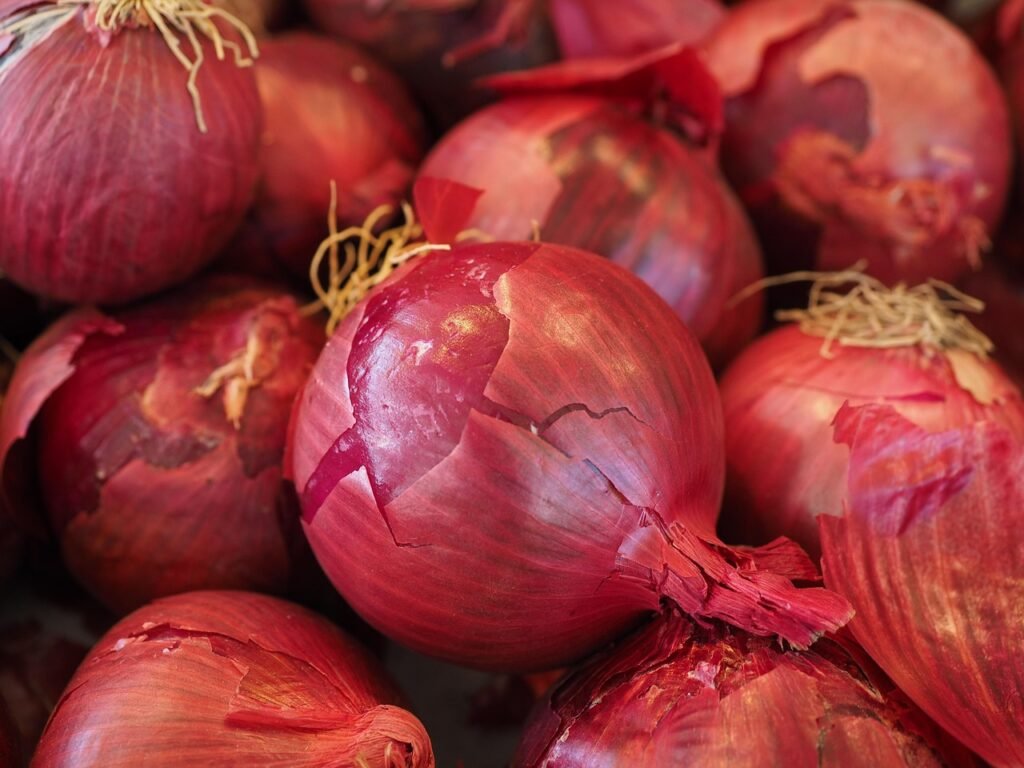
Red Onions: Red onions have a sweeter flavor compared to yellow or white onions. Often served raw, red onions are great for salads, grilling, pickling, and roasting. In my years of gardening experience, these have been the onions that have been most difficult for me to grow. This may be due to the climate and soil types in North Texas.
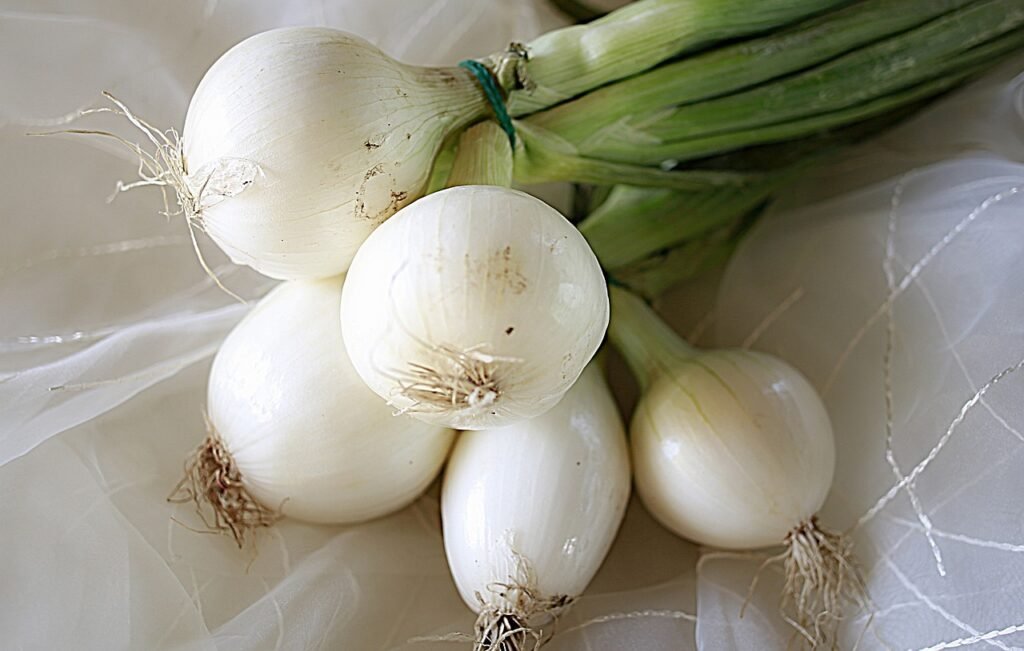
White Onions: White onions have more of a mild flavor compared to yellow and red onions. White onions contain a higher sugar content that yellow onions, giving them a shorter shelf life. These are often found in Central American and European cuisines. White onions are often served raw like red onions.
Sweet Onions: With their light-yellow skin, these onions give a mild taste due to the low concentration of sulfur. Sweet onions go well in salads, relishes, and can even be used as a garnish in many dishes. Down here in Texas, I have planted 1015Y Texas Super Sweet Onions for many years. This year, the local feed store had Texas Legend Sweet Onions, so we will be giving these a shot in addition to the 1015Y onions. While these typically don’t get as large as my yellow or white onions, they go great with many dishes.
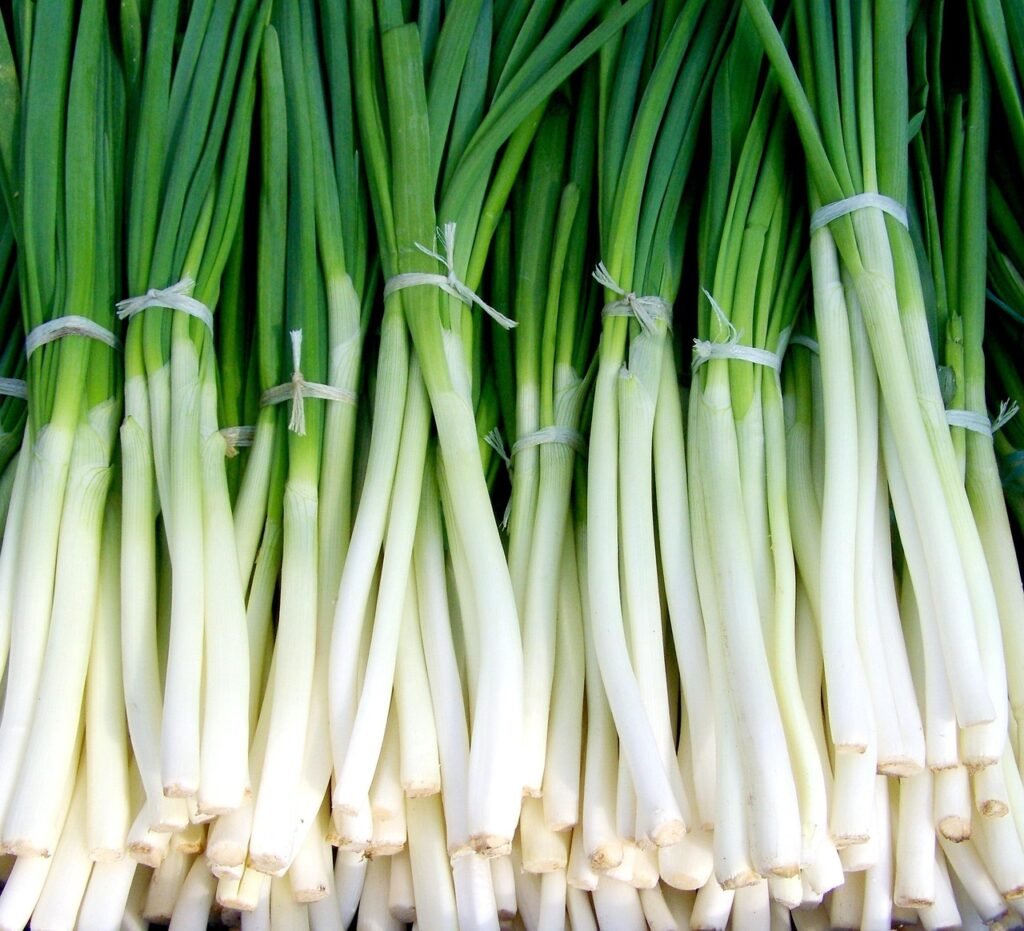
Green Onions: These aren’t a particular type of onion, but instead has to do with an early harvest. Green onions are picked when the bulbs are just beginning to grow, and the entire plant is often used, including the “shoot”. Green onions are often used in salads, soups, and as a garnish in a variety of dishes. They can also be pickled.
Step 2: Choose Your Planting Method
Onions can be grown from seeds, starters or sets. Each method has its own advantages and considerations:
Onion Seeds: Growing onions from seeds allows for a wider variety of options and is typically the least costly route. However, this method requires a longer growing season and may take more effort to germinate and care for seedlings.
Onion Starters: Onion starters or small onion plants are immature onions sold in bunches, usually around 40-50 plants. These small transplants are the go-to for small to medium-sized gardens. Most local feed stores start carrying these, starting in January. In North Texas, we try get our onion starters in the ground at the end of January or beginning of February.
Onion Sets: Onion sets are small, immature onion bulbs that are from the previous year’s harvest. They are ideal for beginners but may have limited variety options depending on your local supplier. I do not have any experience planting these, but am told they work very well. Onion sets typically allow for an earlier harvest, but don’t necessarily grow faster or produce larger bulbs.
Step 3: Pick Your Spot & Prepare The Soil
Onions thrive in well-drained, nutrient-rich soil with a pH between 6.0 and 7.0. Prepping your garden is as important as the actual growing season. During the off season, spend time tilling the soil and adding nutrients to support healthy crops during growing season. To prepare your soil:
Pick A Spot: Onions need at least 6-8 hours of direct sunlight per day. Choose a location that has good drainage and is free from obstructions, like tree branches or structures. Another aspect is to find an area with good soil, preferably sandy-loam or silt-loam, or even clay soils with compost added.

Test & Amend The Soil: If you are unsure of the soil health in your garden, use a soil testing kit to check the pH and nutrient levels. Add compost, aged manure, or a balanced fertilizer to improve the soil.
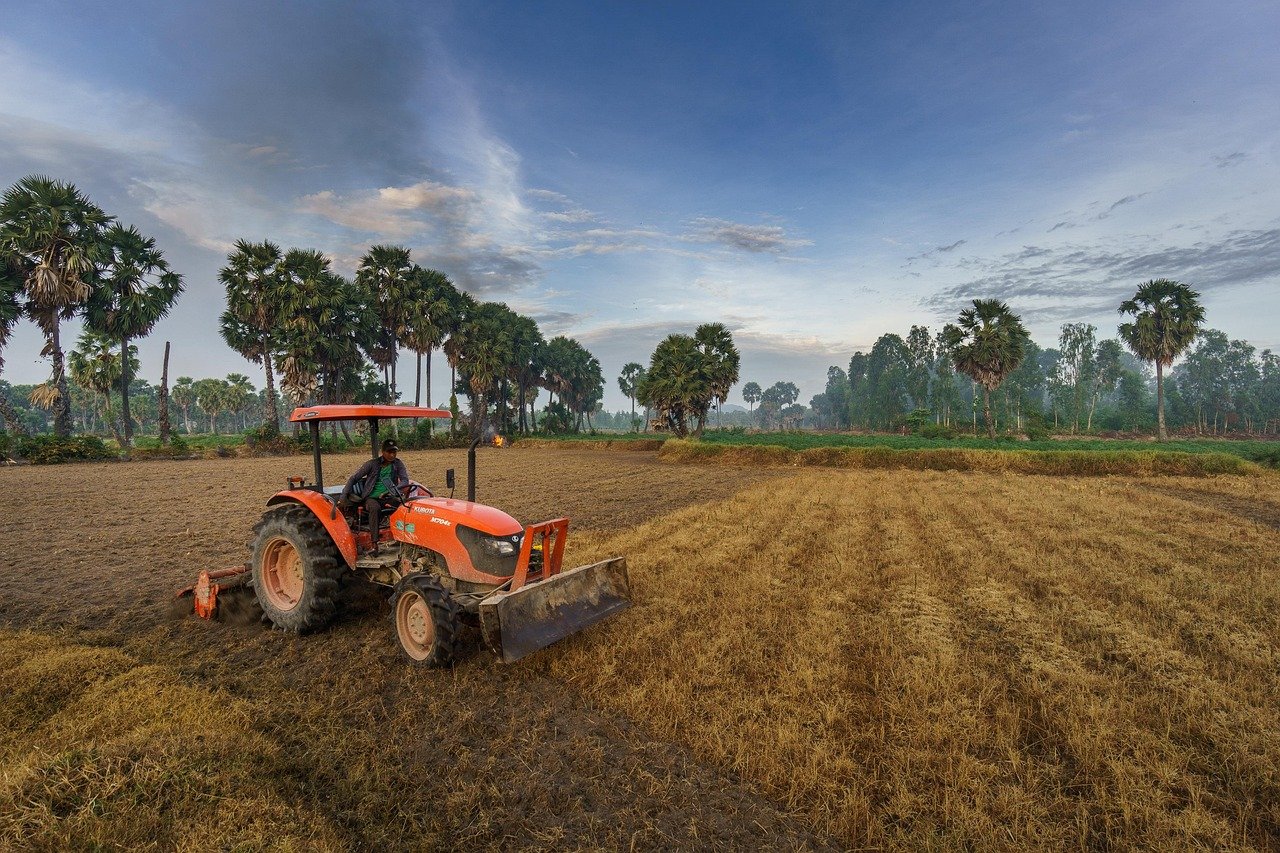
Loosen The Soil: Use a tiller to break up compacted soil to a depth of 6-8 inches. This helps improve drainage and root development. If you are starting a new garden, then you will need to spend a lot of time working the ground. During the fall, we spread compost on our garden and go over it with the tiller to mix it into the dirt. This gives the compost ample amount of time to fully break down and absorb into the soil. Just before planting, we like to go over it once more with the tiller to make planting easier.
Step 4: Planting Time
Planting Seeds:
- Timing: One option is to start seeds indoors 8-10 weeks before the last expected frost date. Use a starter tray or an old milk carton to start your onions. The other option is to plant them directly outdoors. In our region in North Texas, we try to get seeds in the ground around late November.
- Spacing: Sow seeds ¼ to ½ inch deep and around 3-4 inches apart in rows spaced 8-18 inches apart.
- Watering: Keep the soil consistently moist but not waterlogged to ensure good germination.
Planting Starters:
- Timing: Plant onion starters in late winter or early spring. In Texas, we typically plant onion starters in late January or early February.
- Spacing: Plant starters 4-6 inches apart and about an inch deep, in rows that are at least 12 inches apart from each other.
- Watering: In the spring, water onion starters every 5-7 days. Increase the amount of watering if the wind is high, as this can dry the soil out quicker.
Planting Sets:
- Timing: Plant onion sets in early spring, as soon as the soil is workable.
- Spacing: Space sets 4-6 inches apart, in rows that are 10-18 inches apart. The bulb of the onion should only be about an inch below the ground surface.
- Watering: Onions need approximately 1” of water every 5 days. Adjust the amount of watering based on the amount of rainfall and wind.
Step 5: Caring For Onions
Caring for your onions doesn’t just mean watering them every week. Controlling weeds and fertilizing is just as important as watering if you want to produce a healthy crop. See below for more information on caring for your onions.
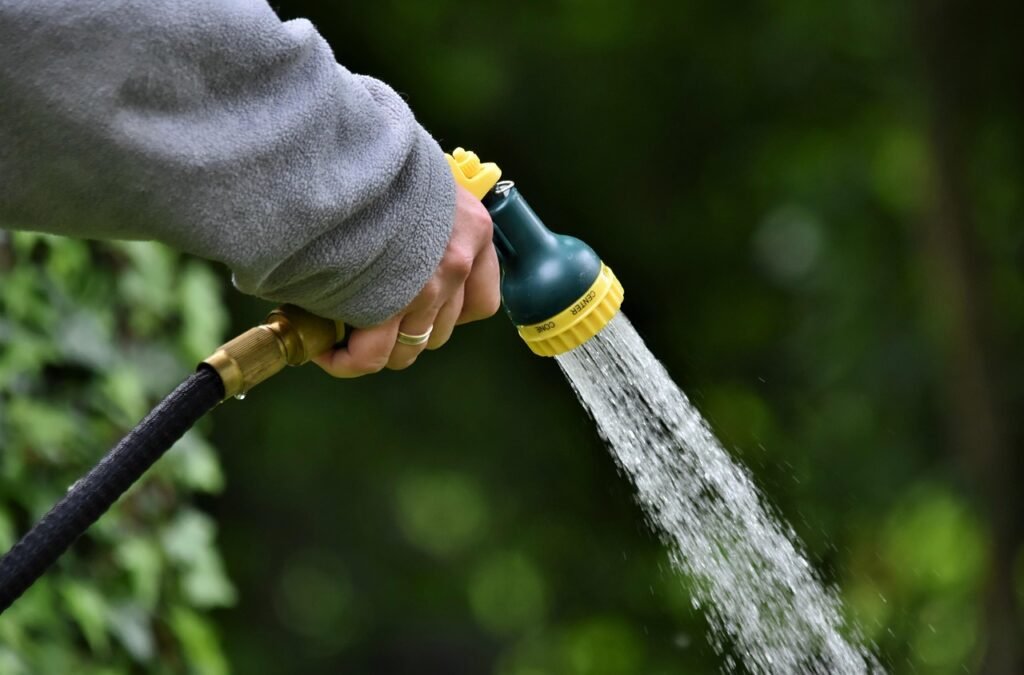
Watering: Onions typically need about an inch of water per week. If you have a small garden, you may just hand-water them. Typically, 9-17 gallons comes out of a water hose per minute, meaning you would need to water for approximately 5-8 minutes per 100 square feet. If your garden is larger, then you may consider an irrigation system. With many irrigation systems, you can easily track and adjust exactly how much water is being applied. One thing to keep in mind is rainfall, as this will change the amount of watering you will have to do manually. Weather is always changing, so it’s best to invest in a rain gauge so you can accurately monitor the amount of rainfall received. Some irrigation systems have rain sensors so you don’t have to adjust sprinklers based on rainfall. While the concept is good, some of these are not always accurate. Best practice is to also have a rain gauge, even if you do have a rain sensor. Remember, too much water can be just as bad for the plant as too little water.

Weed Control: Every gardener has to deal with weeds if they want to grow healthy crops. The best way to get rid of weeds is to pull them out from the root. This may not be an easy task, especially if you have a larger garden. Preventing weeds can help limit the amount of labor required. There are many methods to controlling weeds. Check out our article on How to Prevent & Manage Weeds in your Garden.
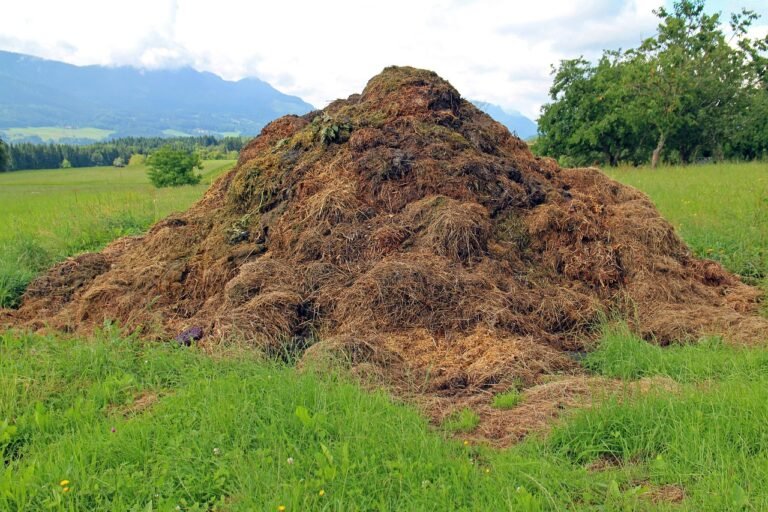
Fertilizing: Ensuring the soil has ample amount of nutrients is crucial for growing onions. There are many different products and methods that can be used to accomplish this. In my opinion, I prefer to use composts and manure over chemical fertilizers. If you have chickens, save the manure to spread on your garden. You can also use kitchen scraps as a natural fertilizer. This includes coffee grounds, eggshells, banana peels, wood ash, grass clippings and leaves. Onions like nitrogen, so it’s best to fertilize every 3-4 weeks during growing season until the plants start to bulb.
Bug Control: Controlling insects in onion gardens involves a combination of preventative practices, natural remedies, and occasionally, chemical treatments. To start, proper spacing between plants promotes airflow, which can discourage pests. Clearing away dead leaves and decaying bulbs also helps reduce insect habitat. For organic control, options like diatomaceous earth—applied around the plant base—can damage insect exoskeletons and deter their activity. Neem oil is another effective treatment, especially against aphids and thrips. Some gardeners use natural deterrents such as cayenne pepper, chili powder, or ginger sprinkled around the plants. Companion planting with crops like carrots or dill can also repel pests naturally. Introducing beneficial insects like ladybugs and lacewings can further aid in controlling harmful bugs. When chemical pesticides are necessary, consult with a local expert or feed store for the best product suited to your needs. Remember, different pests may require different solutions.
Preventing Diseases: Maintaining healthy onion crops begins with proper planting techniques. Onions are sensitive to excess moisture, which can lead to fungal and bacterial infections. Choose a planting site with good drainage, and consider using mounded rows to elevate the bulbs. Avoid planting onions too closely together—adequate spacing allows air to circulate and helps the leaves dry out, reducing the risk of disease. As with pest control, be sure to remove any dead leaves or decaying bulbs from the garden. Neem oil can be applied as a preventative measure against certain diseases. Additionally, practice crop rotation by relocating your onion patch every 3 to 4 years. While rotating, avoid planting other members of the Allium family, such as garlic or scallions. If you see any bulbs showing signs of disease, remove them promptly to prevent spreading.
Step 6: Harvesting Onions
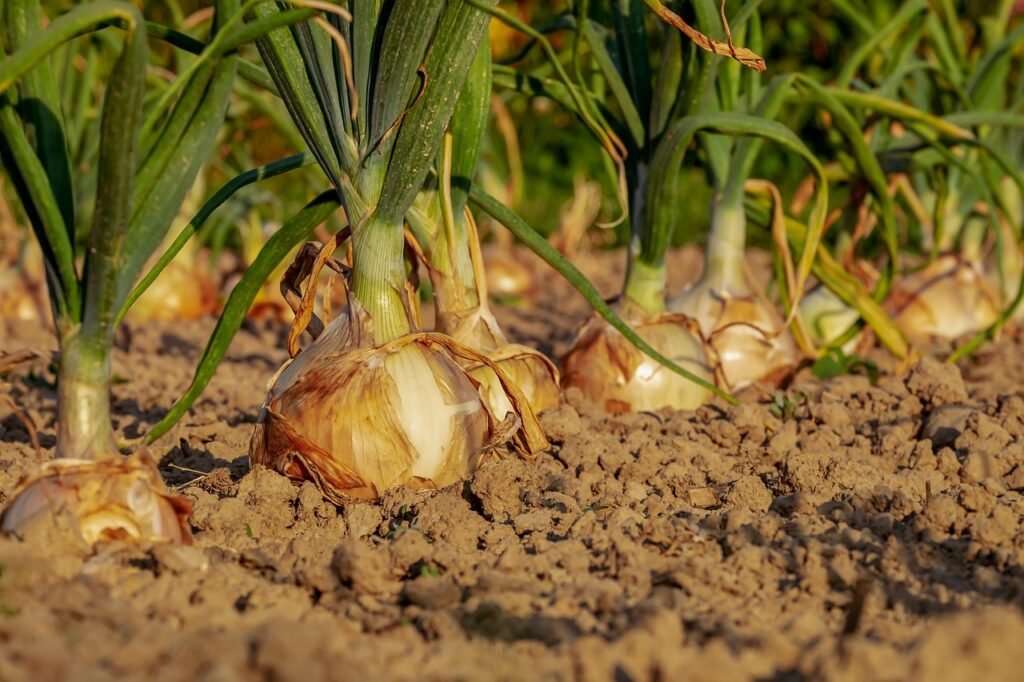
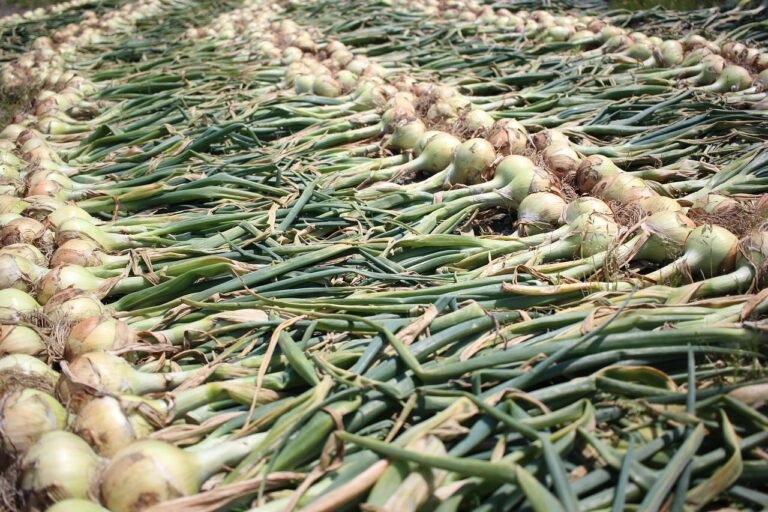
Harvesting: Onions are ready to harvest when the tops start to yellow and flop over. While this can vary, onions are typically ready to harvest in Texas around late May to early June. When harvesting onions, do your best to not break off the stem. Gently loosen the soil around the bulb and pull the onion from its top. Brush off the dirt, but do not wash them with water.
Step 7: Curing & Storing Onions
Curing Onions: Curing is an essential step that helps dry the onion’s outer layers, making them suitable for long-term storage. Lay them out in a warm, dry spot with good air flow—somewhere like a covered patio, a garage, or a barn works great. Make sure they stay out of direct sunlight. Try to keep the temperature around 75 to 80 degrees Fahrenheit. Turn the onions every few days so they dry evenly. The whole process can take anywhere from 2 to 4 weeks, depending on how humid it is. You’ll know they’re ready when the outer skins feel papery, the necks are dry and tight, and the tops are dry and crispy.
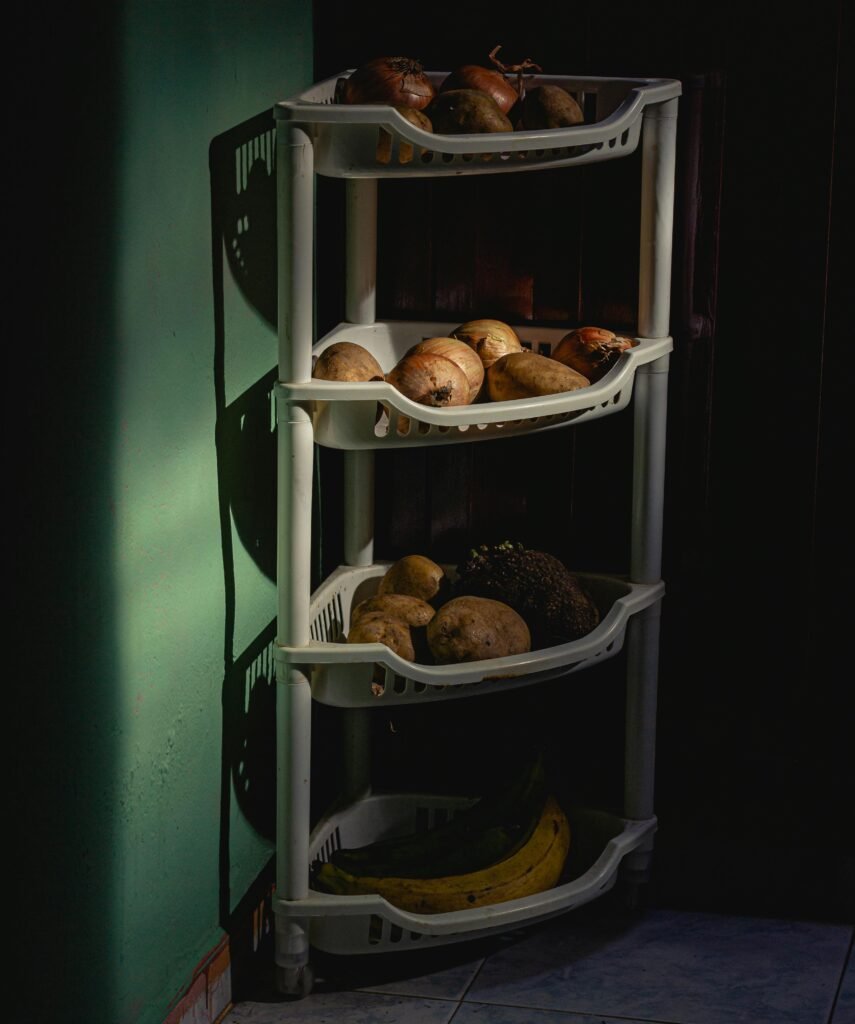
Storing Onions: After curing, cut off the tops about 1-inch from the bulb. Onions should be stored in a cool, dry, and well-ventilated location. The ideal temperature is between 45 to 55 degrees Fahrenheit. Place the onions in a mesh bag, basket or crate. Avoid wrapping onions in plastic or storing in plastic bags. Sweet onions typically only last a few weeks, while pungent types can last for several months. In warmers climates, you may need to store them in the refrigerator.
How To Tell If Onions Are Going Bad: Just like any other vegetable, onions don’t last forever. Onions should be firm and dry to the touch. If they begin to feel soft, mushy, or develop wet spots, this is a sign they are starting to spoil. A fresh onion typically has a mild, sharp, and slightly earthy smell. If you notice a sour, rotten, or musty odor, the onion is likely going bad. Discoloration such as dark spots, mold, or unusual markings is another warning sign. Additionally, if the onion’s surface becomes sticky or slimy, it’s time to discard it. Sprouting also indicates the onion is no longer at peak freshness, though it may still be usable if the bulb remains firm.
Conclusion
Growing and harvesting onions is a rewarding process that combines patience, attention to detail, and a bit of gardening knowledge. From selecting the right variety for your region to planting at the proper time, maintaining healthy soil, managing pests and diseases, and curing the bulbs for storage—each step plays an important role in producing a successful crop. With the right care, onions can thrive in a home garden just as well as on a larger scale. Whether you’re growing them for fresh use, storage, or simply the satisfaction of harvesting your own food, onions are a versatile and dependable addition to any garden. With this guide in hand, you’re well on your way to cultivating a flavorful and long-lasting harvest.