Affiliate Disclosure: Some of the links in this article may be affiliate links, which means we may receive a small commission, at no additional cost to you, if you decide to make a purchase through one of our recommended partners. We only recommend products and services we trust and believe will be beneficial to our readers. Please note that the pictures in this article do not represent the brands of any products recommended, obviously. This helps support our efforts in bringing you valuable content. Thank you for your support!
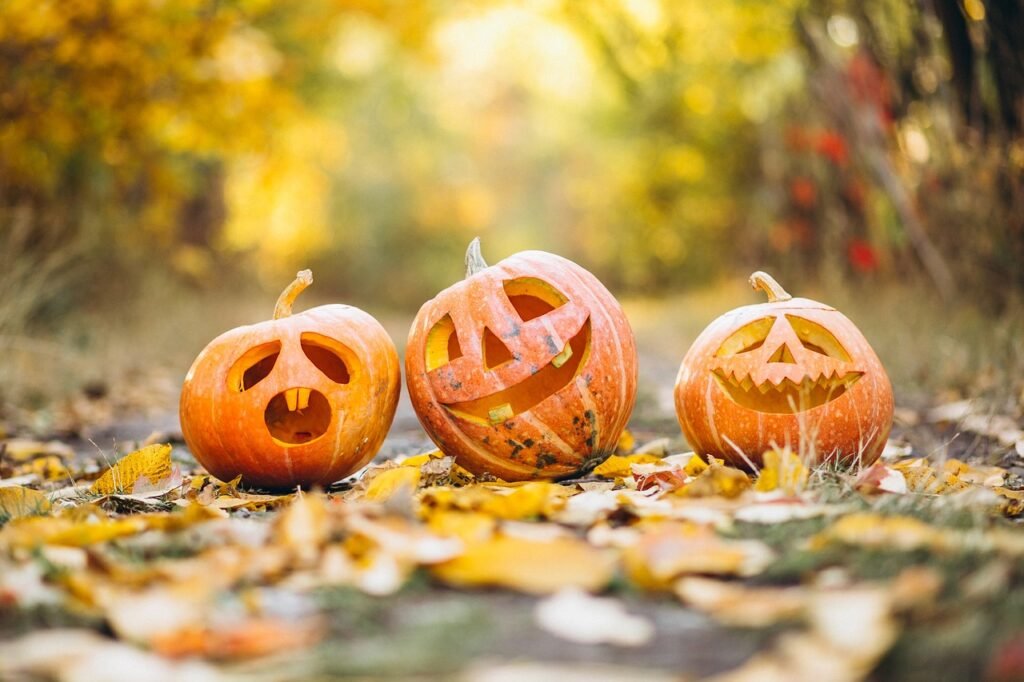
Pumpkin carving is a beloved Halloween tradition that combines creativity and fun, making it a perfect activity for bringing together family and friends. This seasonal craft not only lets you transform a simple pumpkin into a spooky masterpiece but also creates lasting memories, or at least until the pumpkin rots. Whether this is your first time or you’re an experienced carver, mastering the art of pumpkin carving can be incredibly rewarding. In this guide, we’ll walk you through everything you need to know, from selecting the ideal pumpkin to showcasing your finished masterpiece. Let’s dive into the world of pumpkin carving and make this Halloween unforgettable!
Choosing the Perfect Pumpkin
Before you start carving, you need to select the right pumpkin. Below are some tips for choosing the perfect pumpkin:
- Pick a Fresh Pumpkin: Look for a pumpkin that is firm and lacks soft spots or blemishes. The pumpkin should feel heavy for its size, indicating that it’s fresh and has a good thickness for carving. Make sure you check the base for rotting or holes.
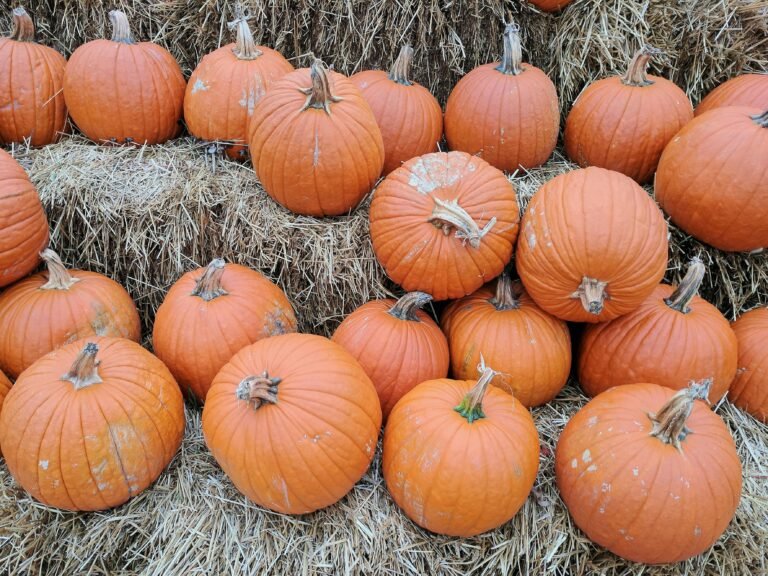
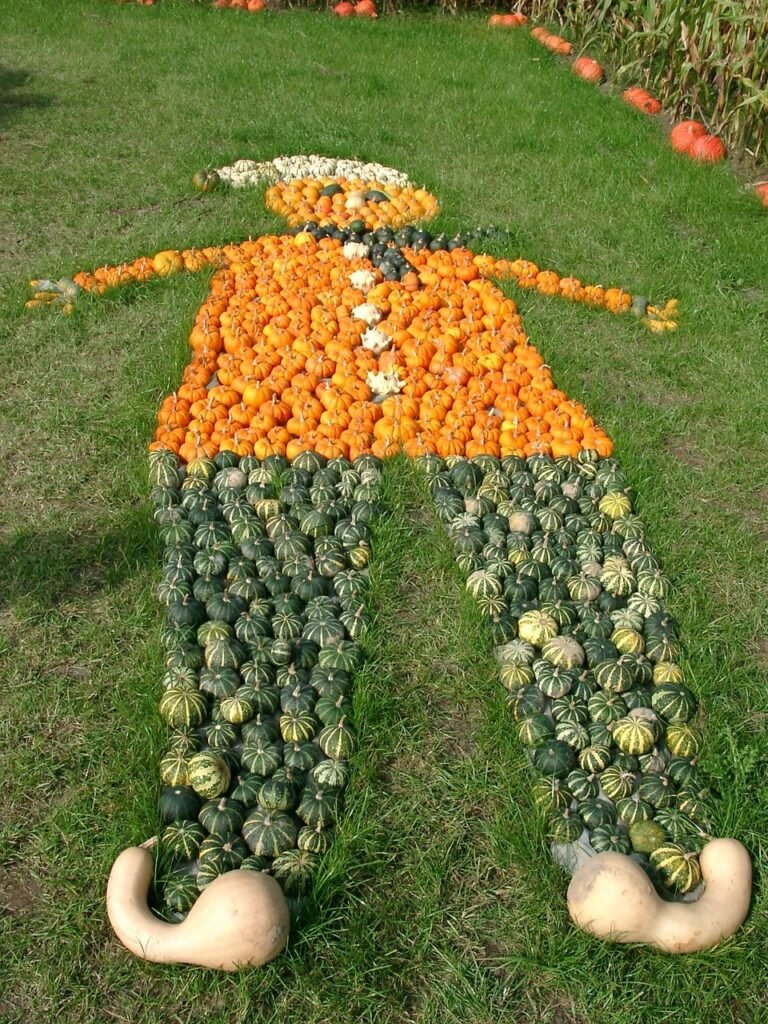
2. Consider the Shape & Size: Decide what design you want and choose a pumpkin with the appropriate shape. Some pumpkins are tall and skinny while others are short and wide. If you can, print out a template or hand-draw a design that you can take with you to the store or pumpkin patch. Hold the template up to each pumpkin to determine which one works best with your design. No matter what type of pumpkin you want, the most important thing to look at is the base of the pumpkin. A pumpkin with an unbalanced base may not stay upright. Tall pumpkins are great for intricate designs, while round pumpkins are ideal for classic jack-o’-lanterns.
3. Check the Stem: A sturdy stem is a good indicator of a healthy pumpkin. It should be firmly attached and not too dry.
Tools Needed
Having the right tools makes pumpkin carving much more enjoyable. Here’s a list of the tools and supplies needed for carving a pumpkin:
- Pumpkin Carving Kit: Carving kits typically include a variety of saws, scrapers, and pokers designed specifically for pumpkin carving. Avoid the cheaper kits as these often contain lower-quality tools that break easily.
- Paring Knife: For detailed cuts and trimming, a small paring knife is a very useful tool. Other knives include a pumpkin carving knife, boning knife or a V-Shaped Sculpting knife.
- Carving Saws: Tooth saws are very effective at carving through the thick-skin of a pumpkin. Look for one with a sturdy handle.
- Awl Tool: These “poker tools” are useful for making small holes when sketching designs on your pumpkin.
- Spoon or Ice Cream Scoop: A large spoon or ice cream scoop helps with removing the pumpkin’s pulp and seeds.
- Marker & Tape: Use a marker to sketch your design on the pumpkin before you start carving. If you have a design on a template, masking tape can be used to secure the design to the pumpkin.
- Plastic Sheet or Newspaper: To keep your work area tidy and make cleanup easier, put down a plastic sheet or a few newspapers. If multiple people are partaking in this activity, consider getting a small tarp.
- Paper Towels or Rags: Pumpkin carving tends to be a messy activity, so include a few rags or a roll of paper towels in your list of supplies.
- 5-Gallon Bucket: A bucket can be used to discard the waste from pumpkin carving. If you have a home garden, save the leftovers from your pumpkin to add to your compost pile.
- Trash Bag: For any trash and debris from pumpkin carving.
- Resealable Bags: Many people choose to save the pumpkin seeds after carving, so having a few sandwich bags handy will allow you to separate the seeds and pulp.
- Disposable Gloves: If you are concerned with getting your hands dirty, consider using disposable gloves.
Pumpkin Preparation
Proper preparation is key to successful pumpkin carving. Follow these steps to get your pumpkin ready for carving:
1. Clean the Surface: Wipe the outside of the pumpkin with a damp rag or towel to remove any dirt or debris.
2. Cut the Top or Bottom: Decide whether you want to cut a hole in the top or the bottom of the pumpkin. Cutting the top is the traditional method to access the interior, however cutting the hole in the bottom can make it easier to place the pumpkin on a light source, like a candle or led light. If cutting a hole from the top, be sure to cut at an angle so the top piece/lid doesn’t fall through. If cutting from the bottom, make sure the base cuts won’t cause the pumpkin to not sit upright.
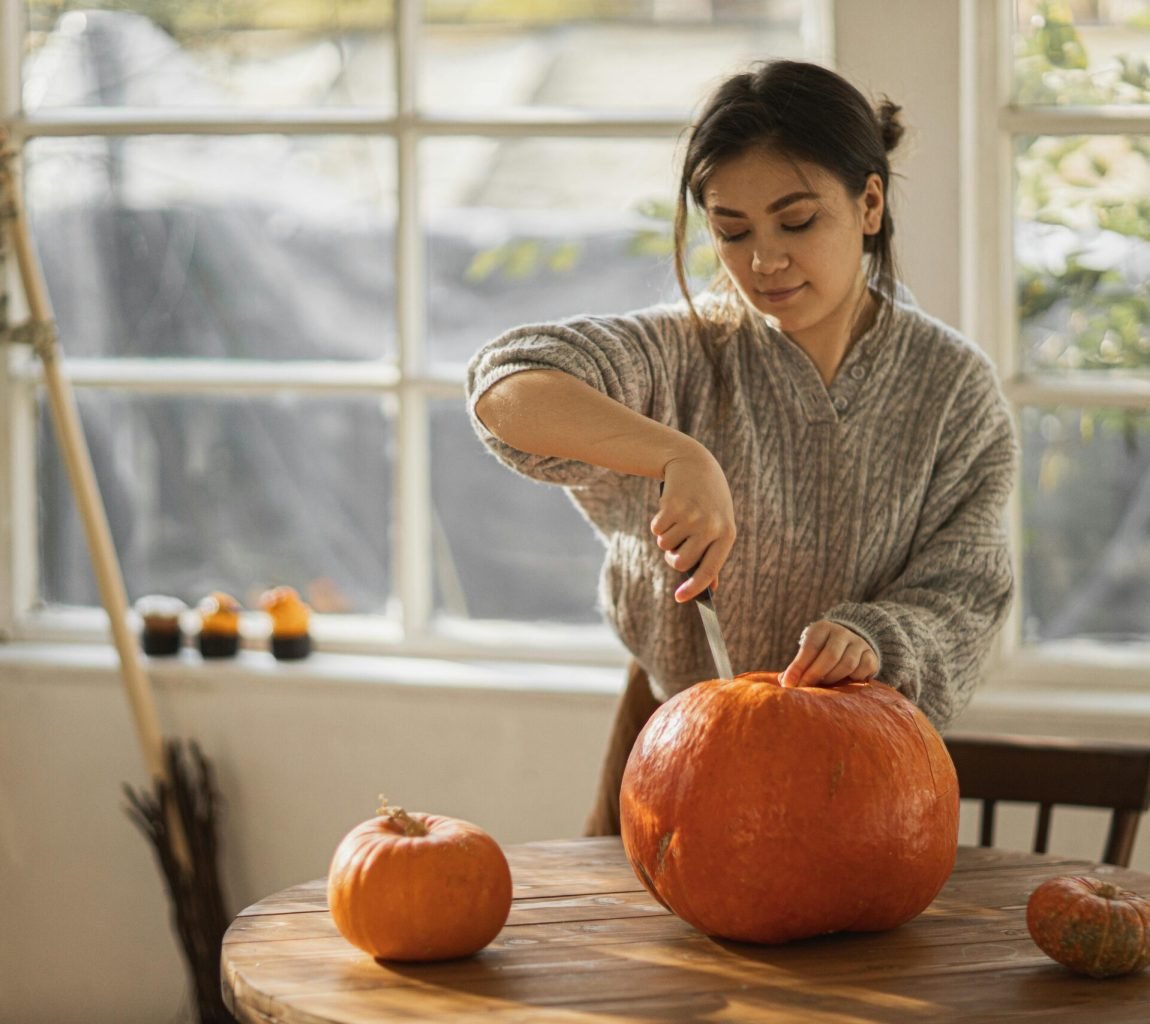
3. Remove the Seeds and Pulp: Use a spoon or ice cream scoop to scrape out the seeds and pulp from the inside of the pumpkin. Make sure to scrape the inside walls of the pumpkin as smooth as possible to make carving easier. This part tends to be the dirtiest task of pumpkin carving. If you want to save the seeds, fill a large bowl with water and add the seeds with pulp to the bowl. Stirring the mixture should help separate the pulp from the seeds. Once clean, dry them out and store them in an air-tight jar or bag in a cool, dark place. We usually store them in the refrigerator until we are ready to bake them.
Designing Your Pumpkin
Before you begin carving, it’s best to have a design in mind. Here’s how to plan your pumpkin design:
- Sketch or Print a Design: Use a marker or pen to draw your design on the pumpkin. If you’re not confident in your freehand skills, you can print out a stencil and tape it to the pumpkin. There are hundreds of designs available online if you are having trouble coming up with ideas.
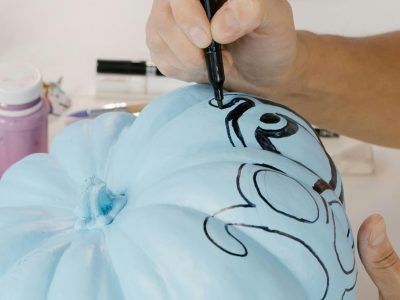
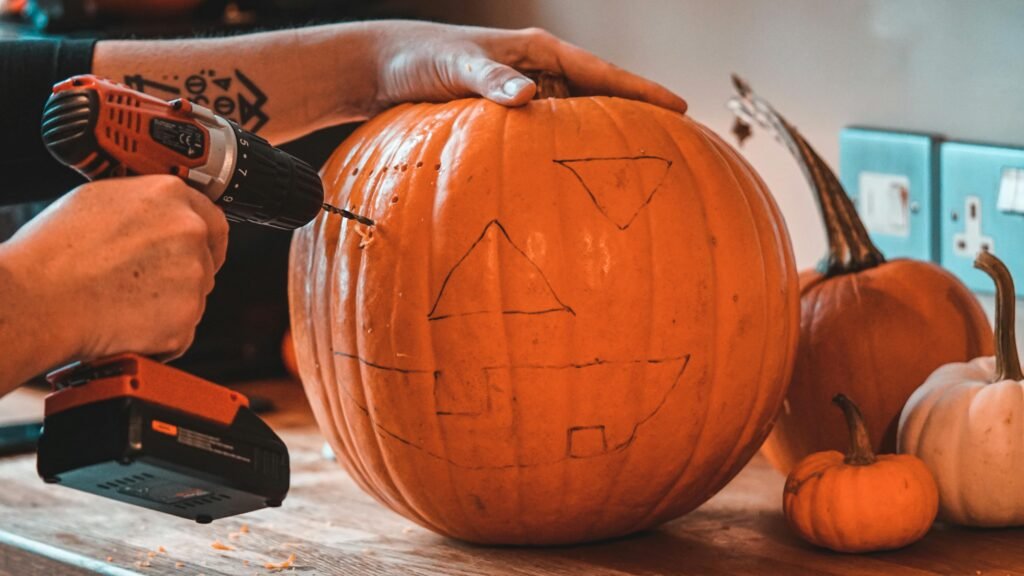
2. Transfer the Design: For detailed designs, printing out a template and tape or pin it to the pumpkin. You can use a pin or a poker tool (awl) to create small holes along the lines of your design, similar to “connecting the dots”.
Carving Your Pumpkin
Now that your pumpkin is prepped and your design is in place, it’s time to start carving:
- Cut the Outline: Start by cutting out the main outline of your design. Use a serrated pumpkin carving saw or a small paring knife for this task. Make sure to cut away from yourself and work slowly.
- Remove the Cut Pieces: Gently pull out the cut pieces as you go. If a piece gets stuck, don’t try to force it out. Use your tool to carefully loosen it or try to cut the lines again.
- Add Details: For detailed designs, you may need to use smaller tools or a paring knife. Take your time and be patient, as this is where your pumpkin will really come to life. Remember with pumpkin carving, any mistakes can’t be reversed.
- Clean Up Edges: After you’ve finished carving out the design, clean up any rough edges using a small knife or carving tool. There are many different finishing tools you can use including etching tools, curved knives, pumpkin scrapers, hole cutters, etc. Check out this carving kit.
Lighting Your Pumpkin
To truly showcase your pumpkin, you’ll need to light it up:
1. Use a Candle: A traditional method is to place a candle inside the pumpkin. Make sure the pumpkin is placed on a heat-resistant
2. Try LED Lights: For a safer and longer-lasting option, use an LED light or flameless tea light. These lights are battery-operated and don’t produce heat. Some lights even include a “flickering” enhancement, mimicking the flame of a traditional candle.
3. Glow Sticks: Another fun option is to use glow sticks. Simply place them inside the pumpkin for a colorful, eerie glow.
Maintaining Your Pumpkin
Follow these tips below to keep your pumpkin looking fresh for as long as possible:
- Keep It Cool: Store your carved pumpkin in a cool, dry place to slow down the decomposition process. If you live in warmer climates, then it may be best to bring it indoors or place in the refrigerator when not displaying.
- Pumpkin Preservers: Apply a pumpkin preservative or a mixture of water and bleach to the cut edges to help prevent mold and rot. Another method is to apply petroleum jelly to the areas that were cut.
- Spray with Water: Occasionally spray the inside of the pumpkin with water to keep it from drying out. You can also make a vinegar solution by mixing 1 part vinegar to 2 parts water.
- Chimney: If you are burning a candle inside your pumpkin, then it is wise to poke a small hole in the top (or lid).
Creative Pumpkin Designs
If you’re looking for inspiration, here are some creative ideas for pumpkin carving:
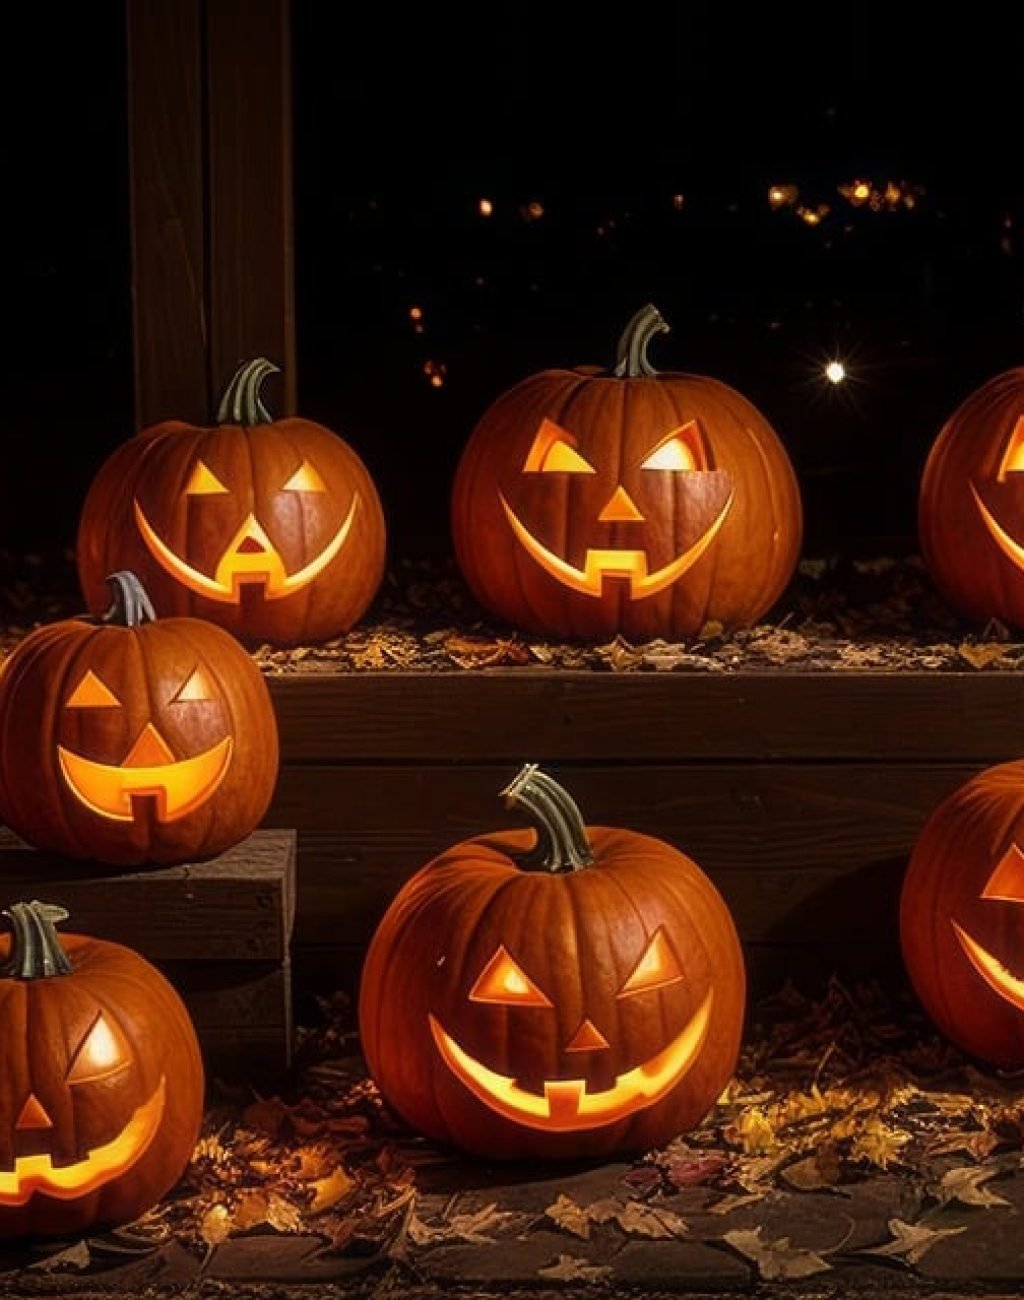
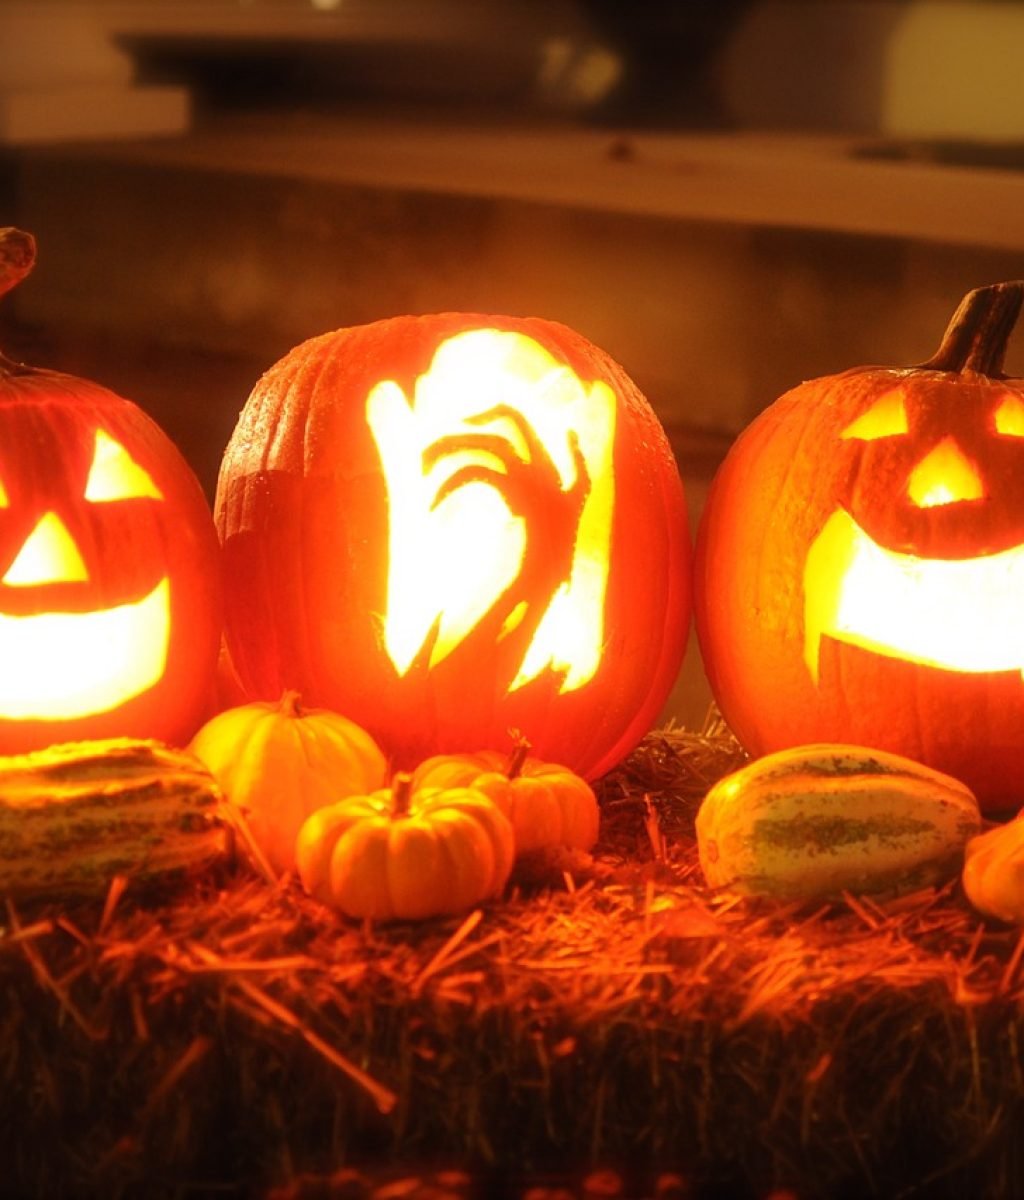
- Classic Jack-o’-Lantern: A timeless design featuring a grinning face with triangle eyes and a jagged mouth.
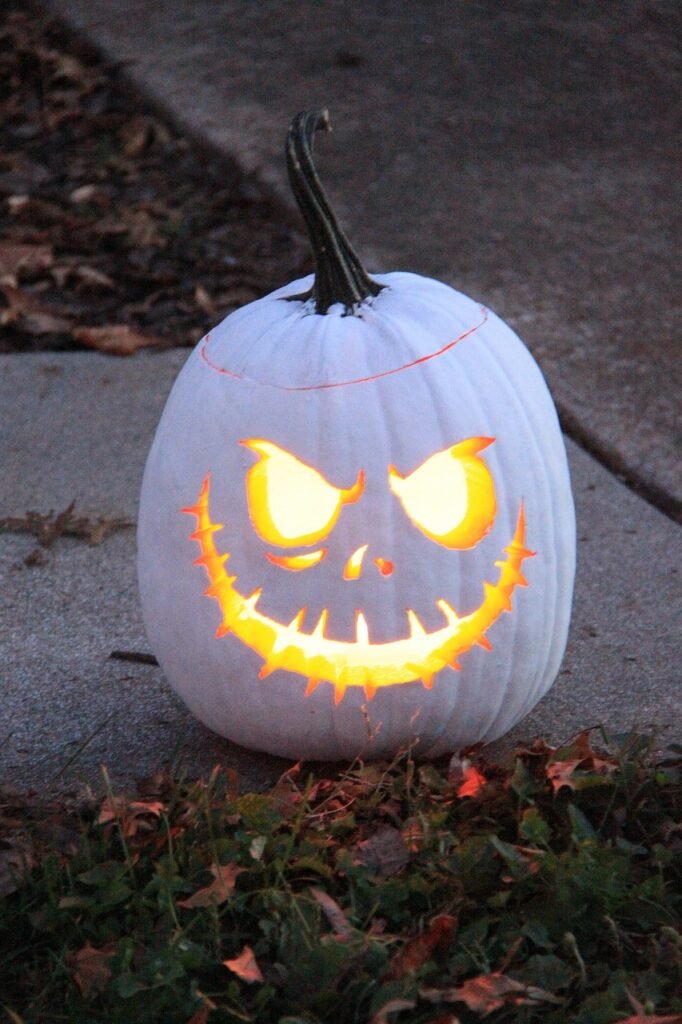
- Detailed Portraits: Carve detailed portraits of famous characters or loved ones for a unique twist. Check out these designs for carving.
- Patterned Pumpkins: Create intricate patterns or geometric shapes for a modern look.
- Themed Pumpkins: Match your pumpkin design to a theme, such as a spooky haunted house or a favorite movie character.
- Glow-in-the-Dark Pumpkins: Paint your pumpkin with glow-in-the-dark paint for a spooky surprise when the lights go out.
- Pumpkins that don’t stand upright: Pumpkins that have a deformed base and don’t
stand upright can also be used to make a creative piece of art.
Safety Tips for Pumpkin Carving
While enjoying this fun activity, safety should always come first. Below are some safety tips to keep in mind:
- Use Appropriate Tools: Always use pumpkin carving tools or knives made with a quality handle that is comfortable and safe to use.
- Carve on a Stable Surface: Work on a stable, flat surface to prevent accidents. Placing the pumpkin next to a wall will allow you to push on it without it falling over. A cutting board or a large tray may also help keep the pumpkin steady.
- Be Careful with Sharp Edges: Pay attention to sharp edges on the pumpkin and tools. Handle them with care to avoid cuts and injuries.
- Supervise Children: If kids are involved, make sure they are supervised and use age-appropriate tools.
Conclusion
Carving a pumpkin is a delightful way to celebrate the Halloween season and showcase your creativity. By choosing the right pumpkin, preparing it properly, and using the right tools, you can create a stunning jack-o’-lantern that will be the talk of the town. Remember to keep safety in mind, and most importantly, have fun with the process. Whether you opt for a classic design or something more elaborate, your carved pumpkin will surely bring joy and festive spirit to your home. Happy carving!
